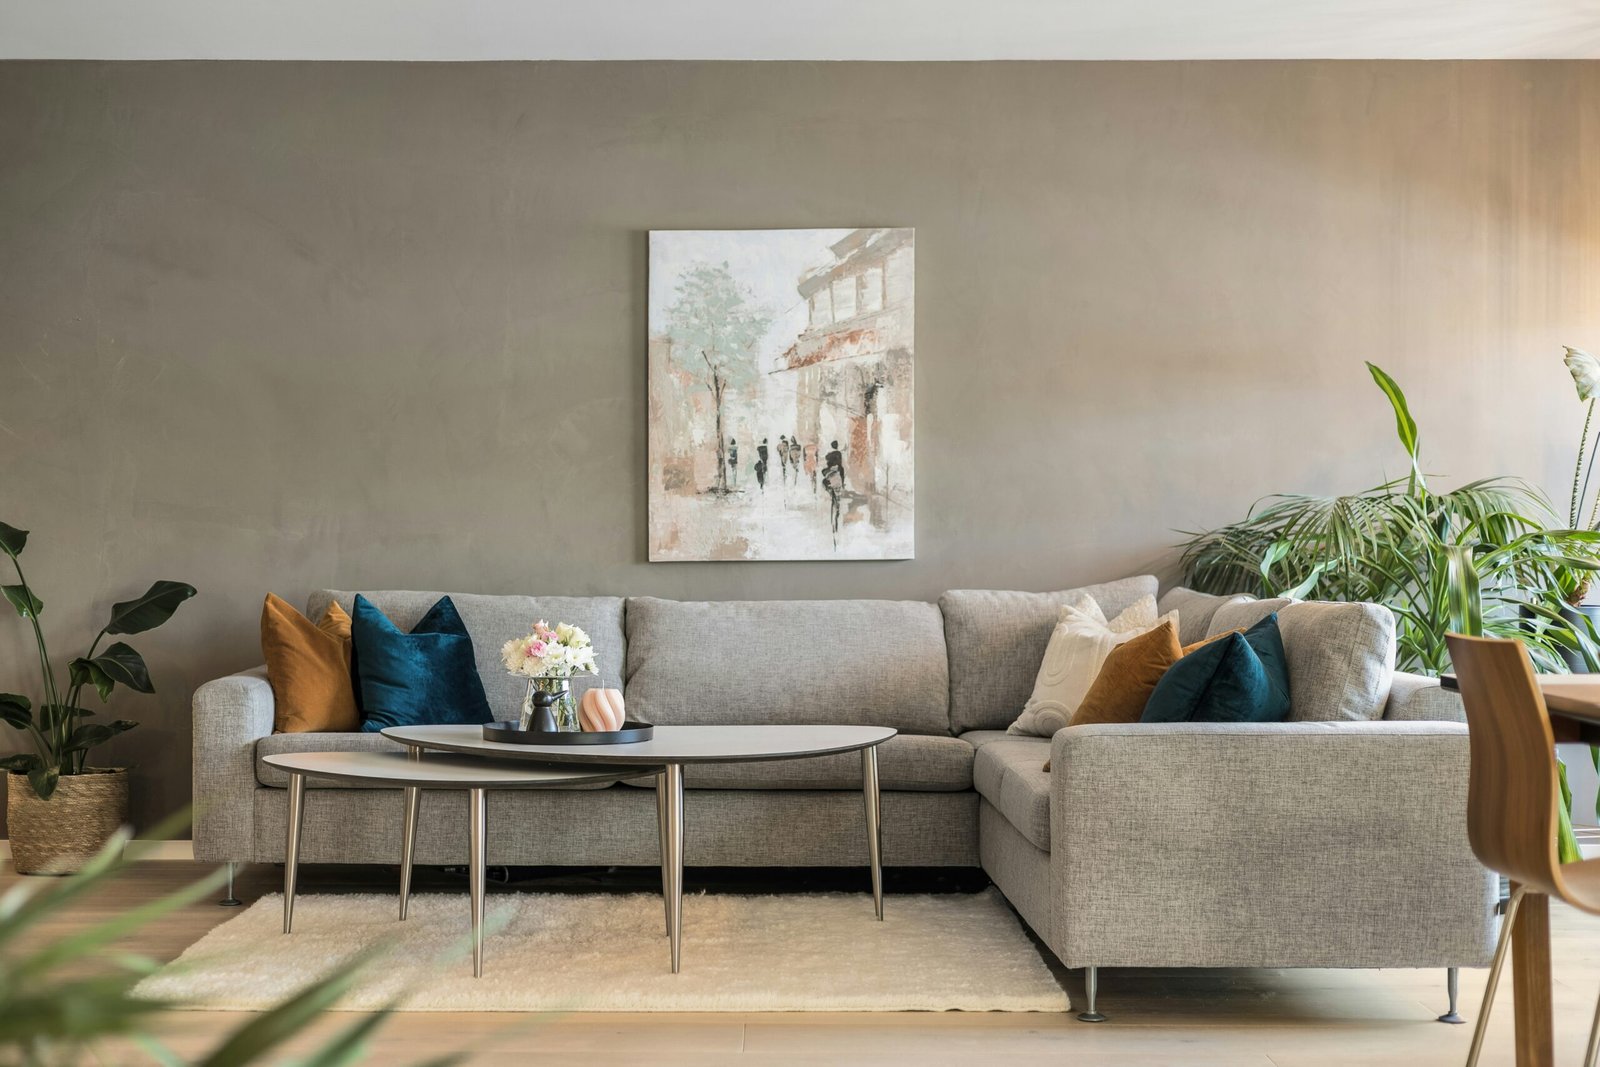
Picture this: You’re staring at a blank wall that screams “boring” while expensive framed artwork at stores makes your wallet weep. Sound familiar? You’re joined by millions of homeowners who desperately want beautiful wall art but feel overwhelmed by high prices and intimidated by the thought of creating something themselves.
Here’s the game-changing truth that craft stores don’t want you to discover: 87% of stunning DIY wall art projects require zero artistic talent and cost less than $15 to create. The secret lies in simple techniques, smart material choices, and beginner-friendly approaches that deliver professional-looking results in under an hour.
Today, you’ll unlock 14 foolproof DIY framed wall art projects that will transform your empty walls into stunning focal points while saving hundreds of dollars. Get ready to become the creative genius your friends will beg to help them decorate their homes!
Why DIY Framed Wall Art Is the Ultimate Home Decorating Hack
Creating your own framed wall art isn’t just about saving money – it’s about crafting personalized pieces that perfectly match your style, color scheme, and space requirements. Recent surveys show that homeowners who incorporate DIY elements into their décor report 65% higher satisfaction with their living spaces compared to those using only store-bought items.
Moreover, DIY projects offer incredible flexibility. You can create custom sizes, experiment with different color combinations, and modify designs based on seasonal preferences or evolving tastes. This adaptability means your wall art investment grows and changes with your lifestyle.
Additionally, the sense of accomplishment from creating beautiful décor with your own hands provides psychological benefits that purchased items simply cannot match. Studies indicate that engaging in creative activities reduces stress by 45% while boosting confidence and self-esteem significantly.
14 Beginner-Friendly Projects That Guarantee Success
1. Pressed Flower Shadow Boxes
Create elegant botanical displays by pressing flowers and leaves between glass in floating frames. This technique requires minimal skill while producing sophisticated results that rival expensive botanical prints.
Collect flowers from your garden or local walks, press them between heavy books for 2-3 weeks, then arrange them in purchased shadow box frames for instant natural beauty.
2. Geometric Tape Art Masterpieces
Transform blank canvases into modern geometric artwork using painter’s tape and acrylic paint. This foolproof method creates clean lines and professional-looking abstract pieces without requiring drawing skills.
Choose 2-3 coordinating paint colors, apply tape in geometric patterns, paint over the design, then remove tape to reveal crisp, contemporary artwork perfect for modern interiors.
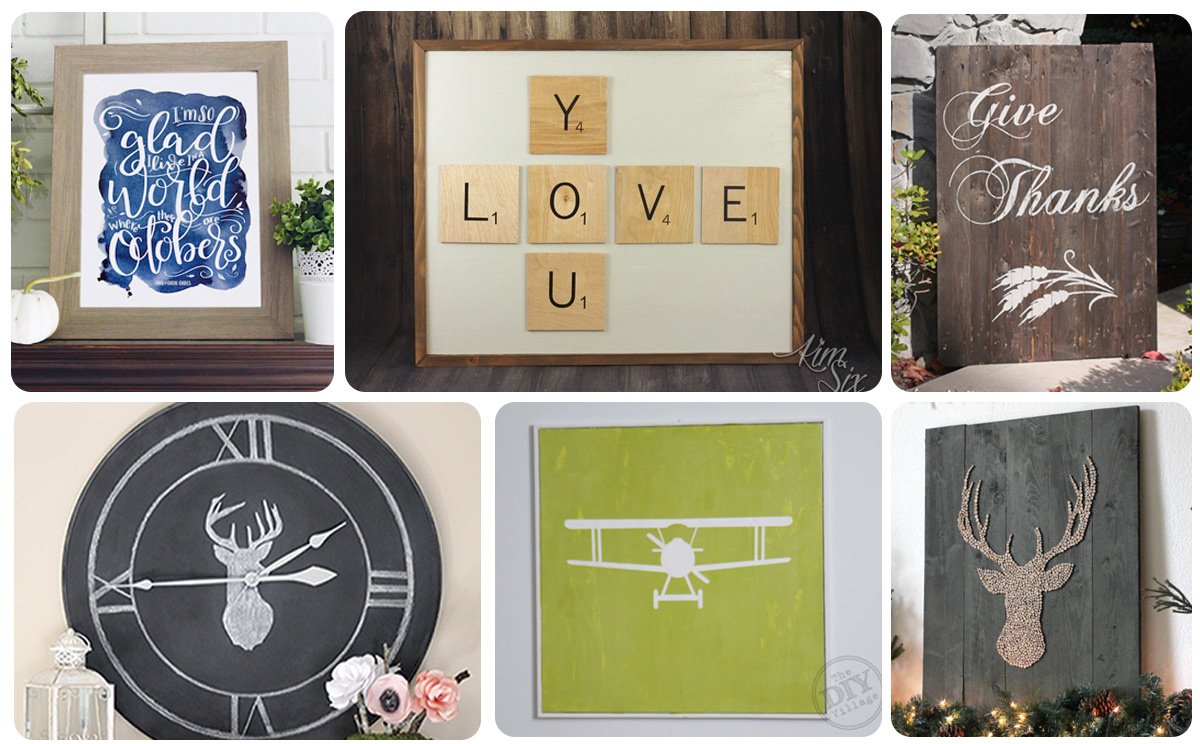
3. Inspirational Typography Prints
Design custom quote prints using free online design tools, then frame them for personalized motivational wall art. This approach costs under $10 per piece while delivering exactly the message you want to see daily.
Select meaningful quotes, choose attractive fonts, print on quality cardstock, and frame for instant inspiration that reflects your personal values and goals.
4. Nature Photography Collections
Showcase your smartphone photography skills by printing and framing your best nature shots. This personal approach creates unique artwork while celebrating your outdoor adventures and local surroundings.
Focus on close-up details, interesting textures, or seasonal changes that create cohesive themes when displayed together in coordinating frames.
5. Fabric Remnant Art Displays
Transform beautiful fabric remnants into framed artwork by stretching them over canvas boards or mounting them behind glass. This technique works especially well with vintage fabrics, bold patterns, or textural materials.
Visit fabric stores for remnant bins, choose pieces with interesting patterns or textures, then frame them as textile art that adds warmth and personality to any space.
6. Map and Atlas Page Artwork
Repurpose old atlases, maps, or sheet music into nostalgic wall art that celebrates travel dreams or musical interests. These pieces work beautifully in home offices, reading nooks, or travel-themed rooms.
Highlight specific locations with colored pencils, arrange multiple maps in a gallery wall, or combine maps with travel photography for personalized adventure displays.
7. Watercolor Resist Technique Pieces
Create stunning abstract artwork using simple watercolor resist techniques with masking tape, crayons, or liquid resist products. This beginner-friendly approach produces unpredictable, beautiful results every time.
Apply resist materials in patterns or randomly, paint over with watercolors, then remove resist to reveal gorgeous organic designs that look professionally created.
8. Dried Leaf and Branch Compositions
Arrange beautiful dried leaves, branches, or grasses in frames for natural artwork that changes seasonally and costs virtually nothing to create.
Collect interesting natural specimens during walks, press or dry them properly, then arrange in frames with neutral backgrounds for sophisticated botanical displays.
9. Magazine Page Collage Art
Transform old magazines into colorful collage artwork by cutting and arranging pages by color theme, creating gradient effects or abstract compositions that rival expensive prints.
Choose magazines with high-quality photography, select pages in coordinating colors, cut into interesting shapes, and arrange in pleasing compositions before framing.
10. String Art Pattern Designs
Create textural wall art using embroidery hoops, colored thread, and simple geometric patterns that add dimension and handmade charm to modern interiors.
Start with basic patterns like sunbursts or geometric shapes, gradually advancing to more complex designs as your confidence and skills develop over time.
11. Paint Chip Gradient Art
Design stunning gradient artwork using free paint chips from hardware stores, arranging them in ombre patterns or geometric designs that cost nothing but deliver dramatic visual impact.
Collect paint chips in coordinating color families, cut into shapes, and arrange in frames for modern, colorful artwork that perfectly matches your existing décor.
12. Coffee Filter Dye Experiments
Create unique abstract artwork by dying coffee filters with food coloring or liquid watercolors, then mounting the dried results in frames for affordable, original pieces.
Experiment with color combinations, folding techniques, and drying methods to create one-of-a-kind pieces that demonstrate creativity and resourcefulness.
13. Embroidery Hoop Gallery Walls
Transform plain fabric with simple embroidery stitches, then display in embroidery hoops for charming, handmade wall art that adds texture and personal touch.
Start with basic stitches and simple designs, gradually developing skills while creating coordinating pieces that reflect your growing embroidery abilities and artistic vision.
14. Photo Transfer Canvas Projects
Transfer meaningful photographs onto canvas using gel medium for vintage-looking artwork that preserves memories while creating unique decorative pieces.
Choose photographs with sentimental value, experiment with the transfer process on practice pieces, then create final versions for personalized family galleries.
Frequently Asked Questions
Essential supplies include basic frames, cardstock or canvas, acrylic paints, brushes, scissors, glue stick, and ruler. Most projects require fewer than 5 supplies total.
Start with standard sizes (8×10, 11×14, 16×20) that offer affordable frame options and easy printing. Create templates to test arrangements before committing to specific sizes.
Focus on clean presentation rather than perfect execution. Quality framing and proper spacing elevate even simple projects to professional-looking displays.
Use UV-protective glass in frames, avoid direct sunlight, and choose fade-resistant materials like quality cardstock and lightfast paints for longer-lasting results.
Yes! Maintain consistency through coordinating colors, similar frame styles, or unified themes while mixing different techniques for visual interest and variety.
Transform Your Walls Into Personal Art Galleries Today
Creating beautiful DIY framed wall art isn’t about having artistic talent – it’s about embracing creativity, experimenting with materials, and personalizing your space with pieces that truly reflect your style and interests.
Start with one simple project that appeals to your skill level and available time. Success with your first piece will build confidence for tackling more ambitious projects while proving that beautiful wall art doesn’t require expensive purchases or professional training.
Remember that imperfection often creates character and charm in handmade pieces. Embrace the unique qualities that come from creating with your own hands rather than striving for machine-perfect results that lack personality.
The most important step is simply beginning. Choose materials you already have at home, select a project that excites you, and dedicate 30 minutes to creating something beautiful for your walls.
Your blank walls are waiting to tell your unique story through personalized artwork that reflects your creativity, interests, and style. Don’t let another day pass with empty walls when these simple projects can transform your entire living space.
The supplies are affordable, the techniques are beginner-friendly, and the results will amaze everyone who sees your beautiful, personally created wall art displays!