Have you ever wondered why some rooms with beautiful hardwood floors feel absolutely stunning while others fall flat despite having the same gorgeous flooring? The answer isn’t in the wood itself – it’s hanging right there on the walls above it.
Your hardwood floors represent a significant investment, often accounting for 10-15% of your home’s total value according to the National Association of Realtors. Yet, many homeowners miss the crucial connection between their wall art choices and how spectacular those floors actually look. The right artwork doesn’t just decorate your walls – it transforms your entire space, making your hardwood floors the star of the show while creating a cohesive, magazine-worthy aesthetic.
Today, you’ll discover the insider secrets that interior designers use to create breathtaking rooms where every element works in perfect harmony. These proven strategies will help you maximize your flooring investment while creating spaces that feel both sophisticated and welcoming. Ready to unlock the full potential of your beautiful hardwood floors?
The Science Behind Perfect Floor-Wall Harmony
Before diving into specific techniques, let’s understand why the relationship between wall art and hardwood floors matters so much. Interior design psychology reveals that our eyes naturally move in predictable patterns when we enter a room. We typically look straight ahead first, then down to the floor, and finally up to the walls and ceiling.
This visual journey means your wall art and hardwood floors must work together to guide the eye smoothly through your space. When these elements complement each other, they create what designers call “visual flow” – that effortless feeling you experience in professionally designed rooms.
Research from the Interior Design Institute shows that rooms with well-coordinated wall art and flooring elements score 43% higher on homeowner satisfaction surveys. Moreover, real estate professionals report that homes with thoughtfully curated art-floor combinations photograph better and sell faster than those without this coordination.
9 Expert Strategies for Stunning Floor-Art Coordination
1. Master the Wood Tone Connection
The foundation of successful wall art selection starts with understanding your hardwood’s unique characteristics. Cool-toned floors (like ash or maple with gray undertones) pair beautifully with artwork featuring silver frames, black and white photography, or cool color palettes in blues and greens.
Conversely, warm-toned floors (like cherry, walnut, or oak with honey undertones) shine alongside artwork with gold or brass frames, warm color schemes, and earthy tones. This doesn’t mean you’re limited to matching exactly – instead, you’re creating a harmonious conversation between elements.
Professional tip: Hold potential artwork near your floors in different lighting conditions. Natural morning light reveals different undertones than evening lamplight, so test your combinations thoroughly.
2. Create Stunning Contrast with Intentional Opposition
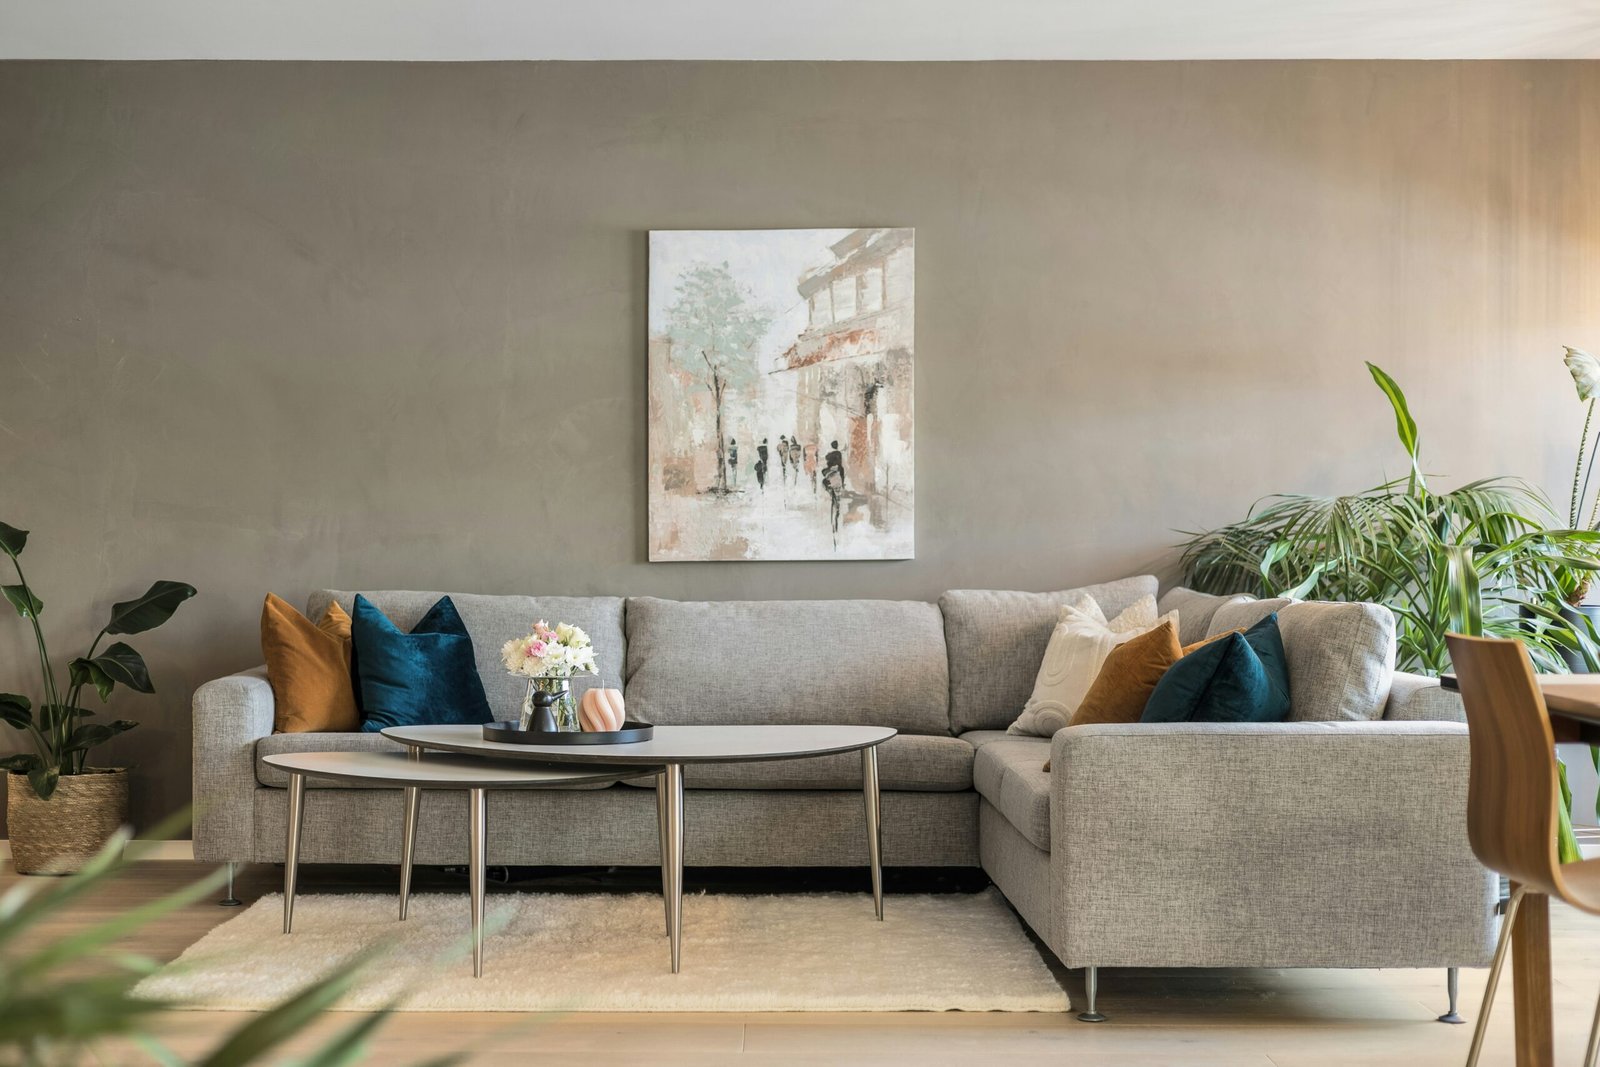
Sometimes, the most dramatic results come from strategic contrast rather than matching. Dark hardwood floors provide an incredible backdrop for light, airy artwork that seems to float above the rich wood tones.
Similarly, light floors like bleached oak or whitewashed pine create perfect canvases for bold, dramatic artwork that might overwhelm darker flooring. This contrast principle works particularly well in modern and contemporary spaces where drama and visual interest take precedence over traditional coordination.
3. Use Scale to Enhance Floor Patterns
Your hardwood’s grain pattern and plank width significantly influence which artwork scales work best. Wide-plank floors with prominent grain patterns can handle larger, bolder artwork that won’t compete with the floor’s natural drama. These substantial floors actually need substantial art to maintain visual balance.
Narrow-plank floors or those with subtle grain patterns work beautifully with more delicate artwork, detailed prints, or gallery wall arrangements. The key lies in ensuring your wall art’s visual weight complements rather than fights with your floor’s natural presence.
4. Leverage Color Temperature for Cohesive Design
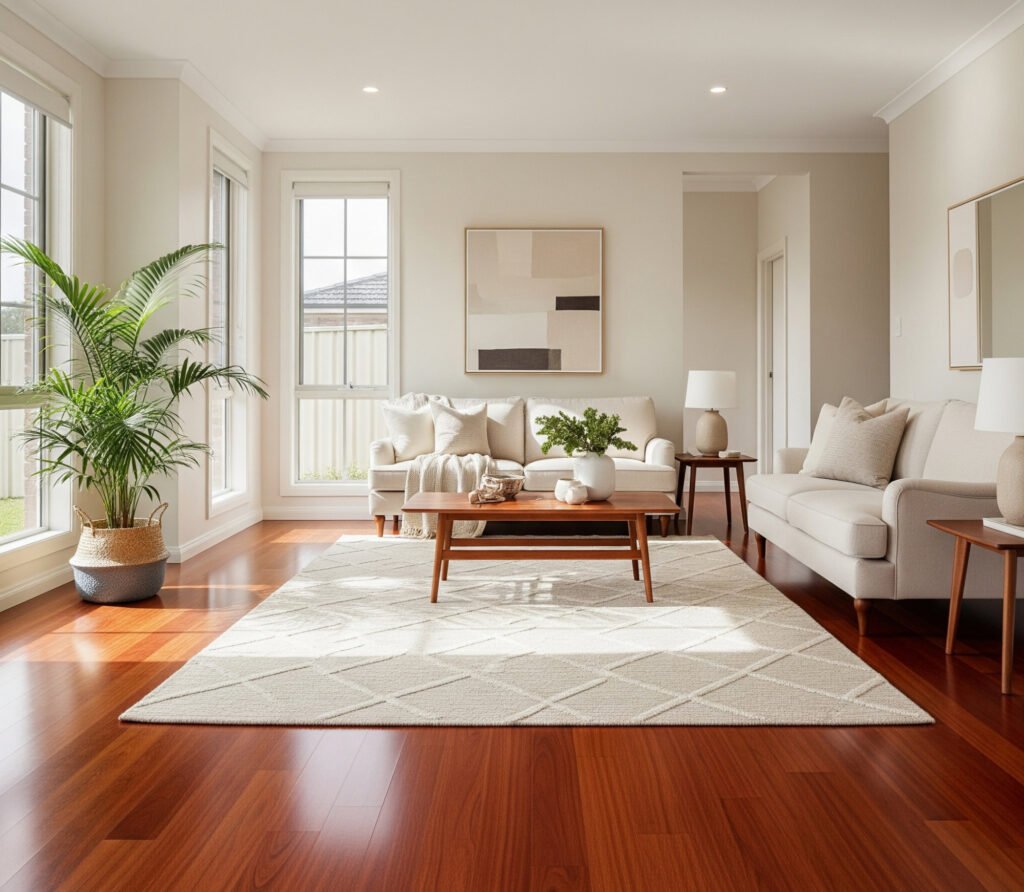
Understanding color temperature transforms good rooms into extraordinary ones. Warm hardwoods (those with red, orange, or yellow undertones) naturally pair with artwork featuring warm colors – think sunset landscapes, golden abstracts, or photography with warm filters.
Cool hardwoods (featuring gray, blue, or green undertones) harmonize beautifully with cooler artwork palettes. However, don’t feel trapped by these guidelines – sometimes a single piece of “temperature-opposing” art creates a stunning focal point that energizes the entire space.
5. Frame Selection That Amplifies Your Floors
The frame often matters more than the artwork itself when coordinating with hardwood floors. Metal frames in brushed gold or warm brass echo the natural warmth in honey-toned oak or cherry floors, while sleek black or silver frames complement cooler floor tones.
Wood frames require special consideration – they should either closely match your flooring for seamless integration or contrast dramatically to avoid looking like a failed matching attempt. When in doubt, choose frames in materials not represented in your flooring for foolproof coordination.
6. Strategic Placement for Maximum Impact
Placement dramatically affects how your wall art interacts with your hardwood floors. Art hung too high loses its connection to the floor, while pieces positioned too low can make beautiful hardwood appear cramped or overwhelming.
The ideal height places artwork’s center 57-60 inches from the floor in most rooms. However, adjust this rule when dealing with particularly dramatic or light-colored hardwood – sometimes positioning art slightly lower enhances the floor’s impact by creating stronger visual connections.
7. Lighting Techniques That Showcase Both Elements
Proper lighting makes the difference between good and breathtaking. Track lighting or picture lights that illuminate both your artwork and cast gentle light onto your hardwood creates a cohesive, gallery-like atmosphere that showcases both investments beautifully.
Avoid lighting that creates harsh shadows on textured or hand-scraped hardwood, as this can make even gorgeous floors appear uneven or flawed. Instead, choose diffused lighting that enhances the wood’s natural character while properly illuminating your art collection.
8. Seasonal Flexibility for Year-Round Beauty
Create systems that allow seasonal artwork changes to keep your space feeling fresh while maintaining the connection to your permanent hardwood floors. This approach works particularly well with photography, textile art, or pieces in easily changeable frames.
Summer might call for lighter, airier pieces that make dark floors feel less heavy, while winter artwork in richer, deeper tones can make the same floors feel cozy and inviting. This flexibility prevents your space from feeling stagnant while maximizing your flooring investment year-round.
9. Budget-Smart Coordination Strategies
You don’t need expensive original art to achieve stunning floor-art coordination. High-quality prints, photography, or even DIY pieces can create the same visual impact when chosen thoughtfully.
Focus your budget on proper framing and strategic lighting rather than expensive originals. A well-framed print with professional lighting often looks more impressive than an expensive piece poorly presented.
Frequently Asked Questions
No! Exact matching often appears forced and limits your decorating options. Instead, aim for harmony through complementary tones, similar warmth/coolness, or strategic contrast that enhances both elements.
Absolutely! Colorful artwork can be stunning with hardwood floors. The key is ensuring the artwork’s undertones complement your floor’s undertones, creating harmony even with bold color choices.
Textured floors pair beautifully with artwork that has visual texture or dimension – think oil paintings, canvas pieces, or photography with interesting textures. Avoid overly smooth, glossy artwork that might clash with the floor’s organic texture.
Create visual consistency by repeating certain elements – frame colors, artistic styles, or color palettes – throughout the connected spaces while allowing for some variation to define different areas.
Yes! Your furniture acts as a bridge between your floors and walls. Choose artwork that works with both elements, creating a cohesive triangle of design elements that support each other.
Bringing It All Together: Your Action Plan
Creating stunning coordination between your wall art and hardwood floors doesn’t happen overnight, but it doesn’t have to be overwhelming either. Start by truly observing your floors in different lighting conditions – notice their undertones, grain patterns, and how they change throughout the day.
Next, take inventory of your current artwork. Which pieces enhance your floors, and which might be working against them? You don’t need to replace everything at once – sometimes simply reframing a piece or moving it to a different wall creates the harmony you’re seeking.
Remember, the goal isn’t perfection – it’s creating spaces that feel intentional, welcoming, and beautiful to you and your family. Trust your instincts while applying these professional techniques, and don’t be afraid to experiment until you find combinations that make your heart sing.
Transform Your Space Starting Today
Your hardwood floors are waiting to be the foundation of something extraordinary. With these expert strategies, you now have the tools to create spaces that feel both sophisticated and personal – rooms where every element supports and enhances the others.
The most beautiful homes aren’t accidents – they’re the result of thoughtful choices that consider how each element interacts with the others. By applying these wall art coordination principles, you’re not just decorating your walls – you’re creating an environment that maximizes your flooring investment while expressing your unique style.
Start with one room, one wall, or even one piece of artwork. Small changes often create the biggest transformations, and before you know it, you’ll have the cohesive, magazine-worthy space you’ve always dreamed of.