DIY canvas prints have revolutionized how creative homeowners transform personal photographs and artwork into professional-quality wall displays without expensive custom printing services. This hands-on approach enables complete creative control over sizing, materials, and finishing while providing substantial cost savings compared to commercial alternatives. Modern crafting techniques and readily available supplies make creating stunning personalized wall art accessible to anyone willing to invest time and effort.
The satisfaction of creating custom photo prints extends beyond financial benefits, offering therapeutic creative expression and the pride of displaying handmade artwork throughout your home. Additionally, these projects provide excellent opportunities for family bonding, skill development, and artistic exploration that commercial purchases cannot match.
Essential Materials for Professional-Quality Homemade Wall Art
Creating successful DIY canvas prints requires specific materials that ensure durability and professional appearance. Pre-stretched canvas boards or blank canvases provide the foundation, available at craft stores in various sizes to accommodate different project requirements and artistic visions.
High-quality inkjet printers capable of handling canvas material produce the best results for photo transfer projects. Canon and Epson models specifically designed for art printing offer superior color reproduction and archival ink quality that ensures long-lasting results comparable to professional services.
Acrylic medium, gel medium, and photo transfer solutions enable various application techniques depending on desired finish and image source. Additionally, protective sealers and varnishes preserve completed projects while enhancing color vibrancy and surface durability.
Tool Selection for Optimal Results
DIY canvas prints benefit from specialized tools including foam brushes, brayers, and squeegees that ensure smooth application without air bubbles or wrinkles. High-quality brushes prevent streaking while providing even coverage during medium application and finishing processes.
Cutting tools, rulers, and measuring devices ensure precise sizing and alignment that distinguish amateur projects from professional-appearing results. Investing in quality tools upfront prevents frustration and improves outcomes across multiple projects.
Photo Preparation Techniques for Custom Photo Prints Success
Image preparation significantly impacts final DIY canvas prints quality, requiring attention to resolution, color correction, and sizing optimization before beginning physical creation processes. Digital editing software enables enhancement and adjustment that maximizes visual impact.
Resolution requirements vary by final canvas size, but 300 DPI minimum ensures sharp detail reproduction without pixelation or blurriness that compromises professional appearance. Larger prints require proportionally higher resolution source images for optimal clarity.
Color saturation and contrast adjustments often improve final results, particularly for older photographs or images captured in challenging lighting conditions. Adobe Photoshop and free alternatives like GIMP provide necessary editing capabilities for image optimization.
Digital Enhancement and Optimization
DIY canvas prints benefit from strategic digital enhancement that addresses common photographic issues including color balance, exposure correction, and sharpening techniques that improve overall visual impact without appearing over-processed or artificial.
Background removal, object isolation, and creative compositing enable artistic interpretations that go beyond simple photo reproduction, creating unique wall art that reflects personal creativity and artistic vision through digital manipulation techniques.
Step-by-Step Photo Transfer Methods for Homemade Wall Art
Direct printing onto canvas fabric provides the most straightforward approach for creating DIY canvas prints using compatible inkjet printers and specially designed canvas sheets. This method offers excellent color reproduction and detail retention while remaining accessible to beginners.
Gel medium transfer techniques enable transferring images from standard paper prints onto canvas surfaces through careful application and removal processes. This approach works well with laser prints and photographs printed on specific paper types compatible with transfer mediums.
Alternative methods include fabric painting, stenciling, and mixed-media approaches that combine photography with artistic elements for unique custom photo prints that go beyond simple reproduction to create original artistic expressions.
Advanced Transfer Techniques
DIY canvas prints can incorporate multiple transfer methods within single projects, creating layered effects and dimensional qualities that distinguish handmade pieces from simple printed reproductions through creative combination of techniques and materials.
Experimental approaches including texture addition, partial transfers, and selective application create artistic effects that showcase crafting skills while producing unique wall art unavailable through commercial printing services or mass-produced alternatives.
Sizing and Proportioning Strategies for Perfect Canvas Displays
Successful DIY canvas prints require careful consideration of final display dimensions relative to intended wall space and viewing distance. Standard size options include 8×10, 11×14, 16×20, and larger formats that accommodate various room scales and design requirements.
Aspect ratio preservation prevents image distortion while cropping decisions affect composition and visual impact significantly. Strategic cropping can improve weak compositions while maintaining essential visual elements that make images compelling for wall display purposes.
Multiple canvas arrangements enable gallery wall creation through coordinated sizing and spacing that creates professional-appearing installations rivaling expensive custom framing and professional mounting services through careful planning and execution.
Professional Proportioning Guidelines
DIY canvas prints achieve professional appearance through adherence to established proportioning principles including golden ratio applications, rule of thirds composition, and strategic negative space utilization that enhances visual appeal and creates sophisticated displays.
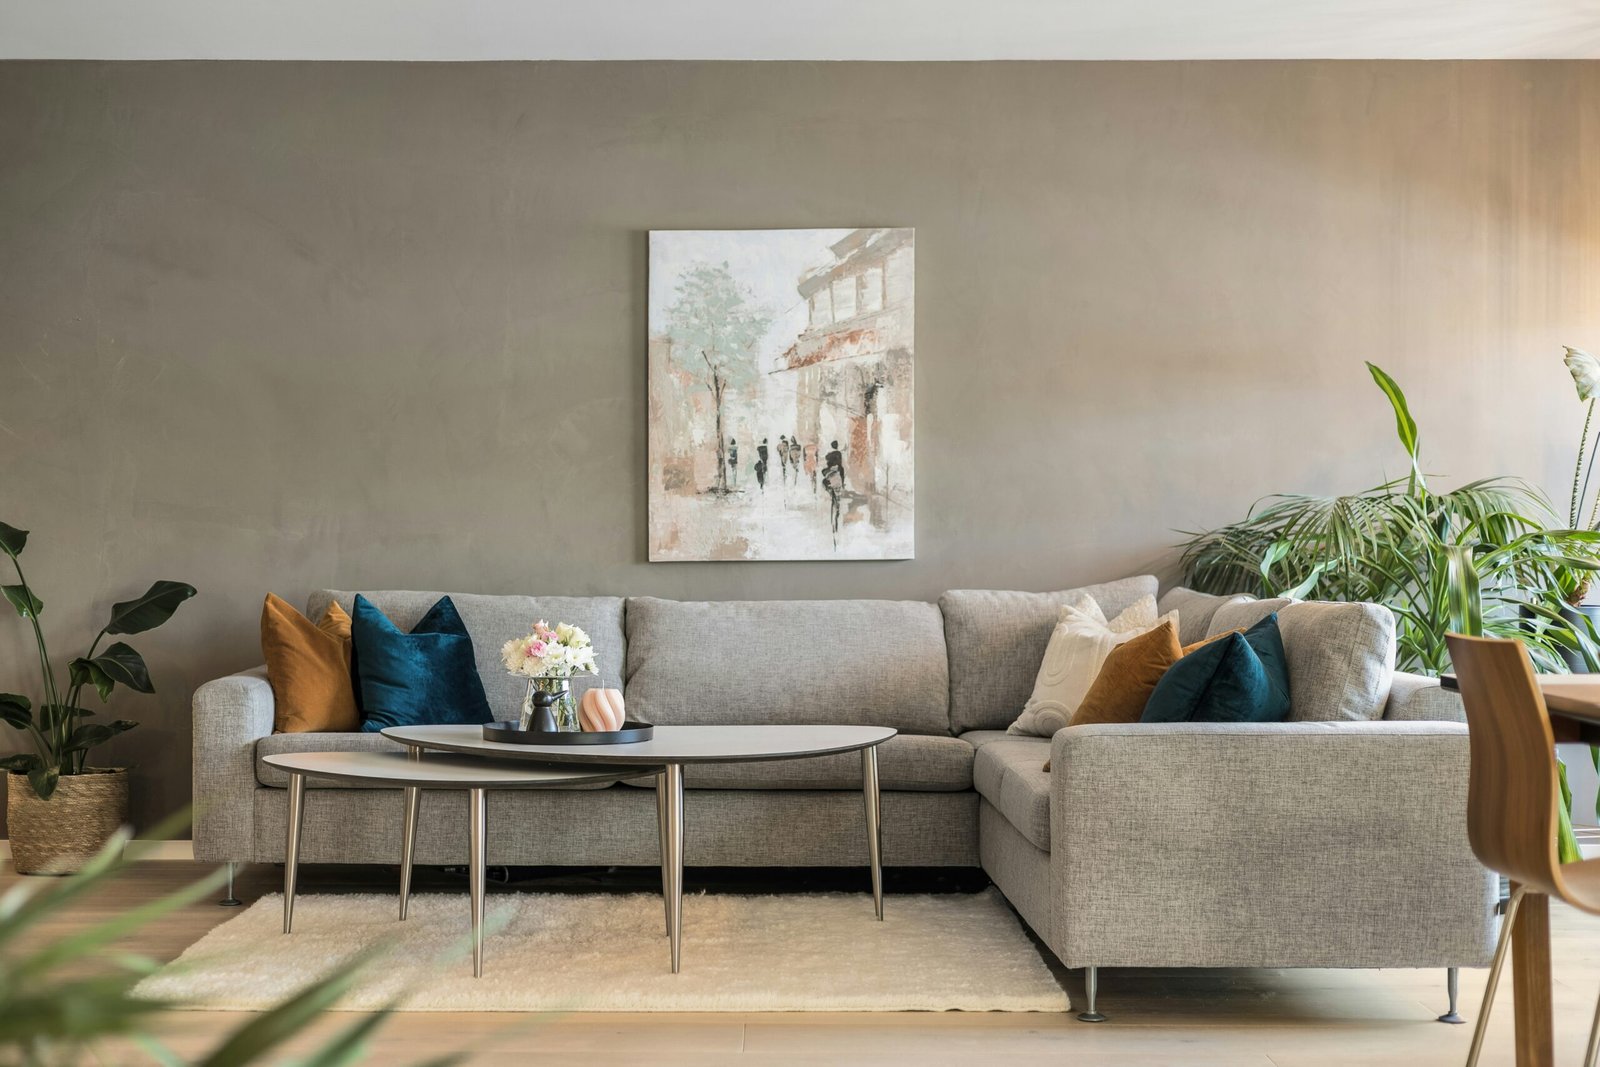
Furniture relationships require consideration when determining canvas sizes, with pieces typically spanning 60-75% of furniture width for optimal visual balance and professional appearance that integrates seamlessly with existing room design elements.
Creative Design Techniques Beyond Simple Photo Reproduction
Custom photo prints can incorporate artistic elements including color manipulation, texture overlay, and creative editing that transforms ordinary photographs into unique artistic statements reflecting personal style and creative vision through digital and physical techniques.
Collage approaches combine multiple images, text elements, and decorative features within single canvas displays that tell comprehensive stories or document specific themes, events, or relationships through carefully planned compositions.
Mixed-media integration adds dimensional elements including fabric, paper, paint, and found objects that create tactile qualities and visual interest beyond flat photographic reproduction, resulting in unique homemade wall art with distinctive character.
Artistic Enhancement Methods
DIY canvas prints benefit from artistic enhancement including hand-painted details, decorative borders, and creative matting alternatives that personalize projects while showcasing crafting skills and artistic sensibilities through thoughtful design choices.
Color theme coordination ensures custom photo prints complement existing room decor while strategic artistic choices create focal points that enhance interior design through purposeful integration with architectural elements and furniture arrangements.
Finishing and Protection Techniques for Long-Lasting Results
Proper finishing ensures DIY canvas prints maintain appearance and durability over time through protective coatings that resist fading, moisture damage, and general wear that could compromise visual quality and investment value of completed projects.
Varnish selection affects final appearance with options including matte, satin, and gloss finishes that provide different aesthetic qualities while offering protection from environmental factors that could degrade canvas materials or image quality over time.
UV protection becomes particularly important for canvases displayed in areas with significant natural light exposure, requiring specialized products that prevent color fading while maintaining transparency and visual clarity.
Professional Mounting and Display Options
DIY canvas prints achieve professional appearance through proper mounting techniques including gallery wrap stretching, floating frame presentation, and traditional hanging hardware that ensures secure installation and appropriate display angles for optimal viewing experiences.
Lighting considerations enhance homemade wall art through strategic illumination that highlights texture, color, and artistic details while preventing glare or hot spots that could detract from visual impact or cause long-term damage through heat exposure.
Troubleshooting Common DIY Canvas Creation Issues
Air bubbles, wrinkles, and uneven application represent common challenges in DIY canvas prints creation, requiring specific techniques for prevention and correction that ensure professional-quality results despite amateur crafting experience and limited specialized equipment.
Color accuracy issues often result from printer calibration problems, paper selection mistakes, or inadequate image preparation that affects final reproduction quality. Understanding these factors enables prevention and correction strategies that improve outcomes significantly.
Adhesion problems between transfer materials and canvas surfaces can compromise project durability and appearance, requiring attention to surface preparation, environmental conditions, and application techniques that ensure lasting bonds between materials.
Quality Control and Improvement Strategies
DIY canvas prints improve through systematic evaluation of results and identification of areas needing improvement including technical execution, artistic choices, and material selection that affects final quality and satisfaction with completed projects.
Documentation of successful techniques, material combinations, and process variations enables refinement and replication of preferred results while avoiding repeated mistakes that waste time and materials during future creative endeavors.
Budget-Friendly Approaches to Custom Photo Prints Creation
Cost-effective DIY canvas prints strategies include bulk material purchasing, tool sharing with crafting friends, and seasonal sales timing that reduces overall project expenses while maintaining quality standards necessary for satisfactory results and long-term enjoyment.
Alternative material sources including thrift stores, estate sales, and online marketplaces provide affordable canvas, frames, and tools that enable budget-conscious crafters to create beautiful homemade wall art without compromising quality or creative vision.
Skill development through practice projects using inexpensive materials builds confidence and technique before attempting expensive or emotionally significant custom photo prints that require higher success rates and professional-quality execution.
Resource Optimization and Waste Reduction
DIY canvas prints projects benefit from careful planning that minimizes material waste through strategic sizing, coordinated project batches, and creative use of leftover materials in smaller accent pieces or experimental projects that maximize value from purchased supplies.
Community resources including maker spaces, library workshops, and crafting groups provide access to expensive equipment and expert guidance that enhances project success while building social connections with fellow creative enthusiasts sharing similar interests.
Frequently Asked Questions
Use highest quality settings with maximum DPI (usually 1200-2400), select “photo” or “best” quality mode, and choose “canvas” or “fine art paper” setting if available. Print slowly to ensure proper ink saturation and avoid banding. Test print small sections first to verify color accuracy and quality.
Apply thin, even coats of transfer medium, allow complete drying between steps, and seal finished pieces with appropriate varnish. Avoid extreme temperature changes, direct sunlight, and high humidity areas. Use archival-quality materials and proper canvas preparation for maximum durability.
Yes, by printing image sections separately and carefully joining them, or using transfer techniques with multiple smaller prints. Plan overlaps carefully, match colors precisely, and practice alignment techniques on test pieces. While challenging, large formats are achievable with patience and careful planning.
Bulk purchasing materials, batch processing multiple images simultaneously, and using transfer techniques with standard printer paper often provide the best value. Group similar-sized projects together to minimize waste and maximize material efficiency while spreading fixed costs across multiple pieces.
Conclusion
DIY canvas prints offer incredible opportunities for creative expression, significant cost savings, and personalized home decoration that reflects individual style and meaningful memories. Through careful material selection, proper technique application, and attention to finishing details, anyone can create professional-quality wall art that rivals expensive custom printing services. The satisfaction of displaying handmade pieces adds emotional value that commercial alternatives cannot match.
Success with custom photo prints requires patience, practice, and willingness to learn from mistakes while building skills that improve with each project. By starting with simple techniques and gradually advancing to more complex methods, crafters develop confidence and expertise that enables increasingly ambitious and rewarding creative endeavors that transform houses into personalized homes.