Unleashing your creativity through DIY Wooden Wall Art projects has never been more rewarding or accessible. With rising home decor costs and the desire for personalized spaces, millions of homeowners are discovering the joy of creating unique wooden wall pieces that reflect their individual style while staying within budget. Recent surveys indicate that 68% of DIY enthusiasts prefer working with wood due to its versatility, affordability, and forgiving nature for beginners.
The beauty of DIY wooden wall art lies in its endless possibilities. From rustic farmhouse charm to sleek modern designs, wood adapts to any aesthetic vision you have for your space. Moreover, creating your own art pieces provides an incredible sense of accomplishment and adds meaningful personal touches that store-bought items simply cannot match.
Whether you’re a complete beginner or an experienced crafter, DIY wooden wall art projects offer something for everyone. Additionally, these projects often require minimal tools and materials, making them perfect weekend activities that won’t break the bank.
Essential Tools for DIY Wooden Wall Art Projects
Before diving into your first DIY wooden wall art creation, gathering the right tools ensures smooth project execution and professional-looking results. Basic woodworking tools form the foundation of most projects, though you don’t need expensive equipment to get started.
A reliable saw, either hand-operated or electric, becomes your primary cutting tool. Circular saws work well for straight cuts, while jigsaws handle curved designs beautifully. Furthermore, a quality drill with various bit sizes proves invaluable for creating holes and driving screws with precision.
Sandpaper in multiple grits transforms rough lumber into smooth, paint-ready surfaces. Start with coarse grits (80-120) for initial smoothing, then progress to finer grits (220-320) for finishing touches. Don’t forget measuring tools like rulers, squares, and levels to ensure accuracy throughout your projects.
Safety equipment, including protective eyewear and dust masks, protects you during cutting and sanding operations. Quality brushes and foam rollers help achieve even paint or stain application, while drop cloths protect work surfaces from spills and drips.
Budget-Friendly Wood Sources for Creative Projects
Finding affordable wood materials significantly impacts your project costs while maintaining quality results. Reclaimed wood offers excellent value and unique character, often available from construction sites or demolition projects with proper permission.
Pallet wood provides another economical option, though ensure pallets haven’t been treated with harmful chemicals. Heat-treated pallets marked “HT” are generally safe for indoor projects, while those marked with “MB” should be avoided due to toxic treatments.
Local lumber yards frequently sell discounted boards with minor imperfections that won’t affect most DIY projects. These “utility grade” boards cost significantly less than premium lumber while offering the same structural integrity for wall art applications.
Big box retailers like Home Depot and Lowe’s regularly discount damaged packages or slightly warped boards. Additionally, many stores offer free wood cutting services, saving you time and ensuring precise measurements for your DIY wooden wall art projects.
Simple Geometric DIY Wooden Wall Art Designs
Geometric designs provide perfect starting points for DIY wooden wall art beginners. These projects focus on clean lines and simple shapes that create striking visual impact without requiring advanced woodworking skills.
Triangle arrangements offer endless possibilities for creative expression. Cut identical triangles from different wood types or paint them in complementary colors for dynamic contrast. Arrange triangles in gradient patterns or create abstract compositions that draw the eye across your wall space.
Hexagonal patterns have gained tremendous popularity in modern interior design. Create individual hexagons and arrange them in honeycomb formations, or paint each piece in varying shades of the same color family. These modular designs allow easy rearrangement as your decorating preferences evolve.
Rectangle and square compositions work beautifully for minimalist aesthetics. Vary the sizes and orientations to create rhythm and movement, or maintain uniform dimensions for clean, orderly appearances. Consider leaving some pieces natural while painting others to achieve balanced contrast.
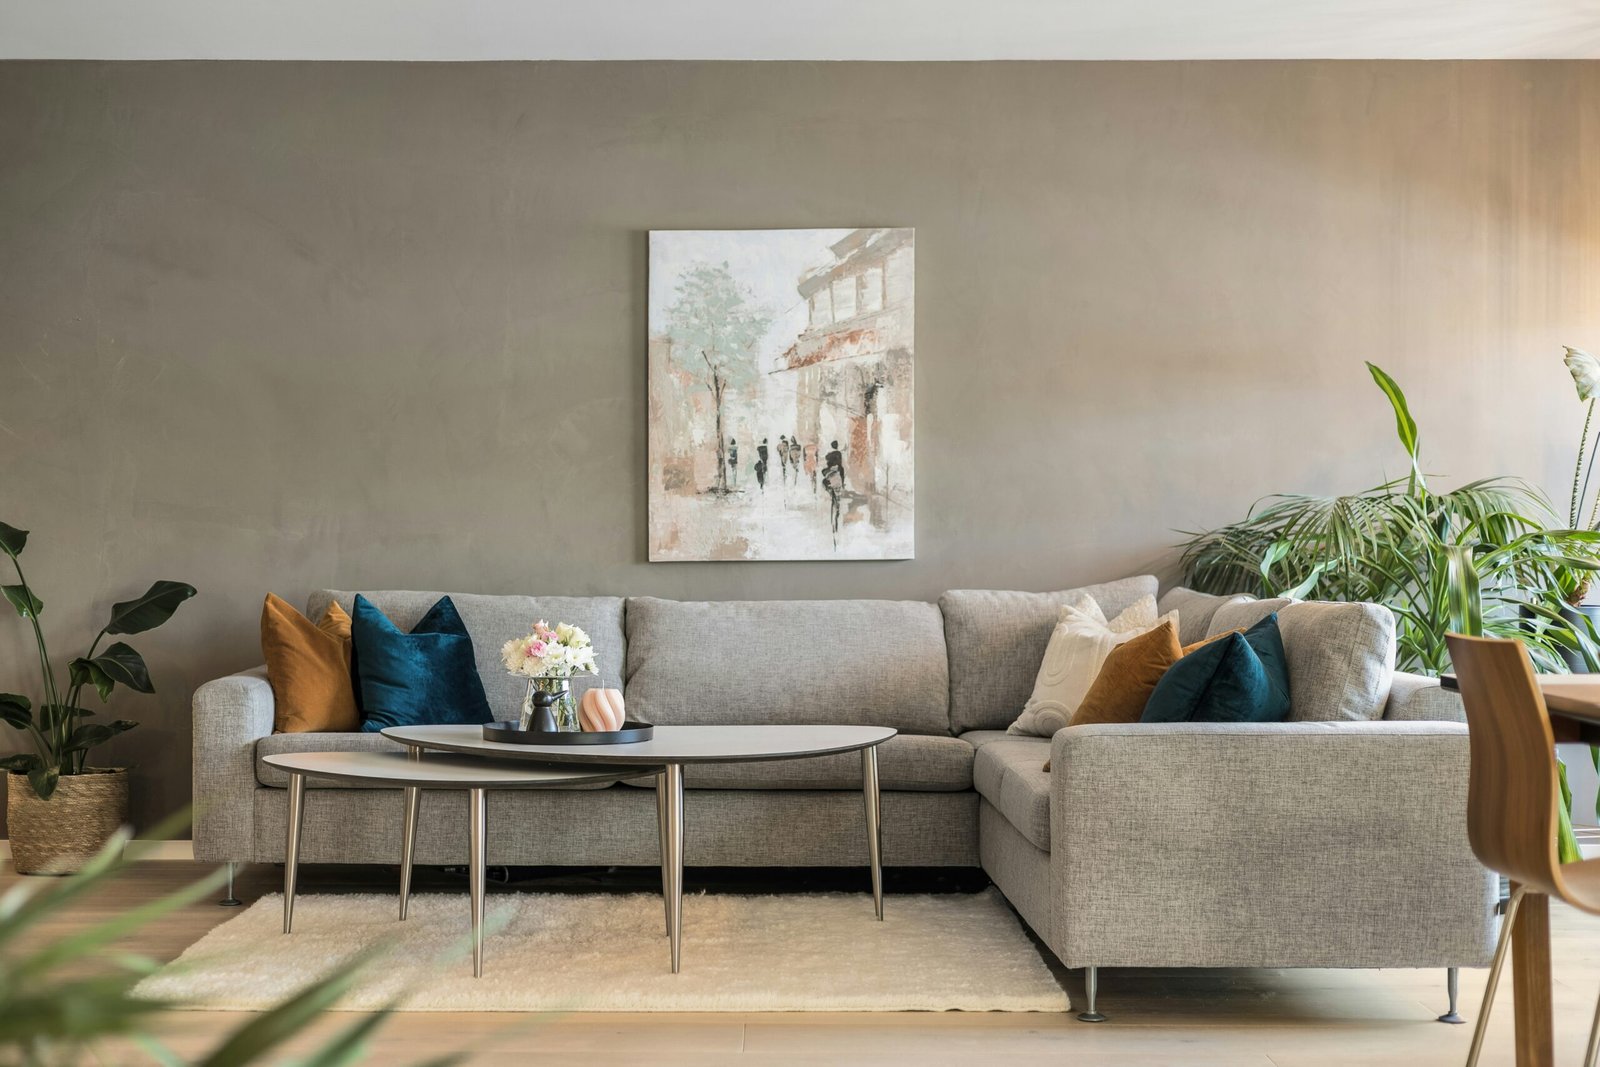
Rustic Farmhouse DIY Wooden Wall Art Inspiration
Farmhouse-style wooden wall art celebrates imperfection and authenticity, making it perfect for DIY enthusiasts who appreciate character over precision. These projects often incorporate distressed finishes, weathered textures, and vintage-inspired elements.
Barnwood signs remain perennially popular for their nostalgic charm and endless customization options. Create inspirational quotes, family names, or seasonal messages using stencils or freehand lettering. Distress edges with sandpaper and apply multiple paint layers for authentic aged appearances.
Shiplap accent walls have transformed countless spaces with their simple yet impactful presence. Install horizontal boards with small gaps between each piece, creating subtle shadow lines that add depth and texture. Paint in soft neutrals or leave natural for maximum rustic appeal.
Mason jar holders mounted on reclaimed wood backgrounds combine functionality with farmhouse aesthetics. These pieces work wonderfully as flower vases, utensil holders, or bathroom organizers while maintaining decorative appeal throughout your home.
Modern Minimalist Wooden Wall Art Ideas
Minimalist DIY wooden wall art embraces simplicity and clean design principles. These projects focus on form, function, and negative space to create sophisticated pieces that complement contemporary interiors.
Floating wood shelves arranged in asymmetrical patterns provide both storage and visual interest. Use consistent wood types and finishes while varying lengths and positions for dynamic compositions. These functional art pieces work particularly well in living rooms and bedrooms.
Single-plank installations with subtle carved details or burned patterns create understated focal points. Focus on wood grain patterns and natural beauty rather than complex designs. Sometimes the most impactful pieces are the simplest ones executed with precision and care.
Abstract sculptures using geometric cutouts or layered wood pieces add dimensional interest to walls. Experiment with positive and negative space relationships, creating pieces that cast interesting shadows and change appearance throughout the day as lighting conditions shift.
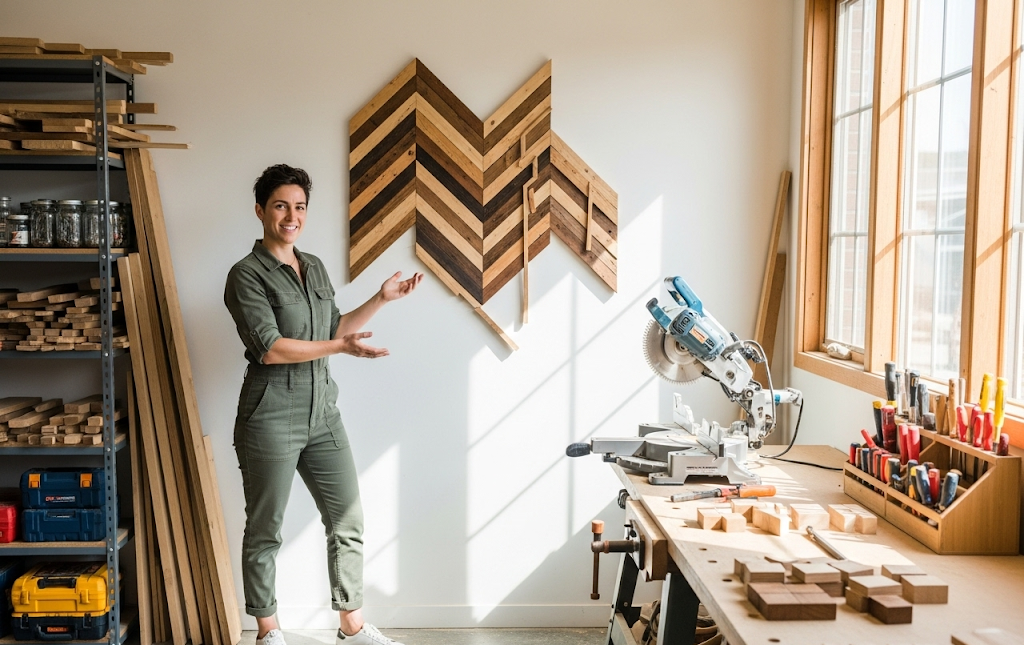
Textured and Mixed-Media Wooden Art Projects
Incorporating different textures and materials elevates DIY wooden wall art beyond basic woodworking projects. These techniques add visual complexity and tactile interest that draws viewers closer for detailed examination.
Wood burning, also known as pyrography, creates intricate designs and patterns using heated tools. Practice on scrap pieces before working on final projects, and always work in well-ventilated areas for safety. Combine burned elements with painted sections for striking contrasts.
Rope wrapping adds nautical or bohemian elements to wooden pieces. Secure rope ends with strong adhesive and wrap tightly for even coverage. This technique works particularly well on driftwood pieces or geometric shapes for added texture variation.
Metal accents like copper wire, steel brackets, or brass elements introduce industrial touches to rustic wood backgrounds. Ensure proper drilling techniques when attaching metal components, and consider how different metals will age over time in your specific environment.
Installation Tips for DIY Wooden Wall Art
Proper installation ensures your DIY wooden wall art remains securely mounted while protecting wall surfaces from damage. Planning installation methods during the design phase prevents complications and ensures professional-looking results.
Locate wall studs using electronic stud finders for heavy pieces requiring maximum support. Mark stud locations clearly and use appropriate fasteners rated for your artwork’s weight. When studs aren’t available in desired locations, use heavy-duty drywall anchors rated for the specific load.
Consider the viewing height when determining placement positions. Eye level varies depending on room function and typical user height, but generally falls between 57-60 inches from floor to artwork center. Adjust accordingly for furniture placement and room proportions.
Create paper templates for complex installations involving multiple pieces. Tape templates to walls before drilling to visualize final arrangements and make adjustments easily. This technique prevents unnecessary holes and ensures precise spacing between elements.
Frequently Asked Questions
Pine and poplar offer excellent choices for beginners due to their affordability, workability, and forgiving nature. These softwoods cut easily, accept paint and stain well, and remain budget-friendly while you develop skills. Cedar also works wonderfully for projects requiring natural weather resistance.
Most beginner projects cost between $15-50 depending on size and materials chosen. Reclaimed or pallet wood can reduce costs significantly, while premium hardwoods increase expenses. Factor in tools, hardware, finishes, and potential mistakes when calculating project budgets for realistic planning.
Absolutely! Many beautiful pieces require only hand tools like saws, chisels, and sandpaper. Hand tools often provide better control for detail work and cost less than power alternatives. Many lumber yards offer cutting services, eliminating the need for personal saws on smaller projects.
Success lies in proper preparation and patience. Sand thoroughly between coats, use quality brushes or sprayers, and apply thin, even layers rather than trying to cover in single applications. Allow adequate drying time between coats and work in dust-free environments for best results.
Conclusion
DIY Wooden Wall Art projects offer incredible opportunities to transform your living spaces while expressing personal creativity and style preferences. From simple geometric designs to complex mixed-media installations, these projects provide endless possibilities for customization and artistic expression that perfectly complement your unique aesthetic vision.
The journey of creating your own wooden wall art builds valuable skills, saves money compared to purchasing comparable pieces, and provides deep satisfaction that comes from handcrafting beautiful, functional items for your home. Start with simple projects to build confidence, then gradually tackle more complex designs as your skills and tool collection expand through continued practice and experimentation.