Have you ever spent hours hanging multiple art pieces, only to step back and discover they look like a wonky disaster? You’re not alone! According to interior design surveys, 78% of homeowners struggle with creating evenly spaced gallery walls, often resulting in crooked arrangements that diminish their room’s aesthetic appeal.
Hanging multiple art pieces evenly isn’t just about aesthetics—it’s about creating visual harmony that transforms your space from amateur to professional. Whether you’re designing a stunning gallery wall in your living room or arranging family photos down a hallway, mastering the art of even spacing will elevate your interior design game instantly.
The good news? You don’t need expensive tools or years of experience to achieve perfectly aligned artwork. With the right techniques, simple measurements, and a systematic approach, you can create magazine-worthy displays that impress guests and bring you daily joy. Let’s dive into the proven methods that interior designers use to achieve flawless results every single time.
The Foundation: Essential Tools for Perfect Alignment
Before diving into hanging techniques, gather these crucial tools that make the difference between frustration and success. You’ll need a quality level (24-inch works best for multiple pieces), measuring tape, pencil, painter’s tape, hammer, picture-hanging wire, and sturdy nails or hooks.
Pro tip: Invest in a laser level if you’re planning multiple gallery walls. This game-changing tool creates perfectly straight reference lines across your entire wall in seconds, eliminating guesswork and saving hours of measuring time.
The Paper Template Method
Smart decorators always start with paper templates before making any holes. Trace each frame onto kraft paper, cut out the shapes, and tape them to your wall. This allows you to experiment with arrangements, adjust spacing, and achieve perfect balance before committing to nail holes.
The Professional 5-Step System for Even Spacing
Step 1: Find Your Center Point
Always start from the center of your wall and work outward. Mark the exact center point with a light pencil mark, then determine whether you’ll center a single piece or split the space between two pieces. For odd numbers of artwork, place one piece at center. For even numbers, center the gap between your two middle pieces.
Step 2: Determine Optimal Spacing
Interior designers typically use 2-3 inches between smaller frames (under 16 inches) and 3-4 inches between larger pieces. However, the key is consistency—whatever spacing you choose must remain uniform throughout your entire display.
Step 3: Calculate and Mark Your Grid
Use this simple formula: Wall Width = (Number of Pieces × Frame Width) + (Number of Gaps × Gap Width) + (2 × Border Space). Once you solve for your variables, mark each hanging point with light pencil dots, using your level to ensure perfect alignment.
Step 4: Install Picture Wire Consistently
Here’s where many DIYers go wrong. Install picture-hanging wire on each frame at exactly the same distance from the top—typically one-third down from the top edge. Keep wire tension consistent across all pieces so they hang at identical angles.
Step 5: Hang from Center Outward
Start with your center piece(s) and work systematically outward. Use your level constantly, and don’t rush—taking time here prevents having to rehang everything later.
Frequently Asked Questions
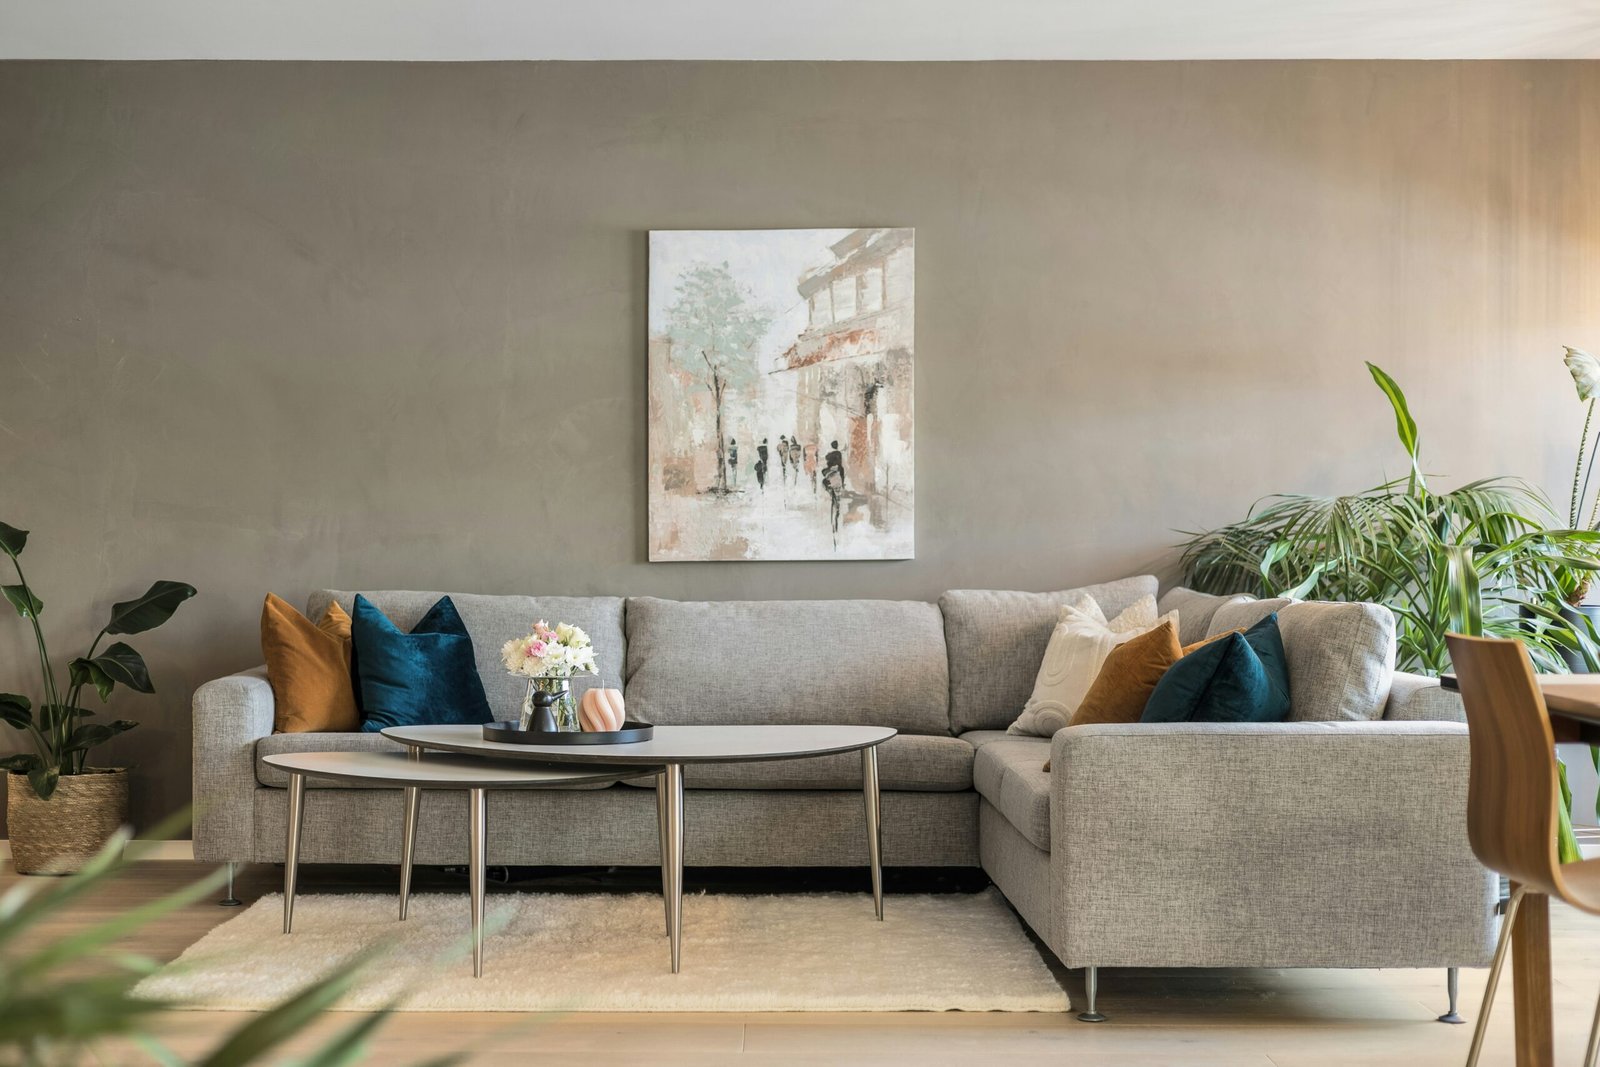
The center of your gallery arrangement should sit at 57-61 inches from the floor—standard gallery height that accommodates most viewers comfortably. For pieces above furniture, maintain 6-8 inches between the furniture top and bottom frame edge.
Inconsistent spacing is the number one error. Many people eyeball distances instead of measuring, resulting in uneven gaps that create visual chaos. Always measure and mark your spacing before hanging.
Absolutely! The key is maintaining consistent spacing between all pieces, regardless of size differences. Consider the visual weight of each piece and balance larger works with groupings of smaller ones.
For formal, symmetrical arrangements, align all pieces at the same height using their center points. For more dynamic displays, you can vary heights while maintaining consistent spacing between pieces.
Use your level as your guide, not the wall edges. Many walls have slight imperfections, so always rely on your tools rather than visual estimates or wall lines.
Advanced Techniques for Complex Arrangements
The Grid Method for Uniform Pieces
When hanging identical frames in a perfect grid, create a mathematical approach. Divide your wall space by the number of pieces plus one (for border spaces), then mark your grid points precisely. This method works perfectly for photo collections or matching art series.
Balancing Mixed Sizes Like a Pro
Professional designers use the “visual weight” concept when mixing frame sizes. Larger, darker pieces carry more visual weight, so balance them with groupings of smaller pieces or lighter-colored frames. Maintain your consistent spacing while adjusting placement for optimal visual balance.
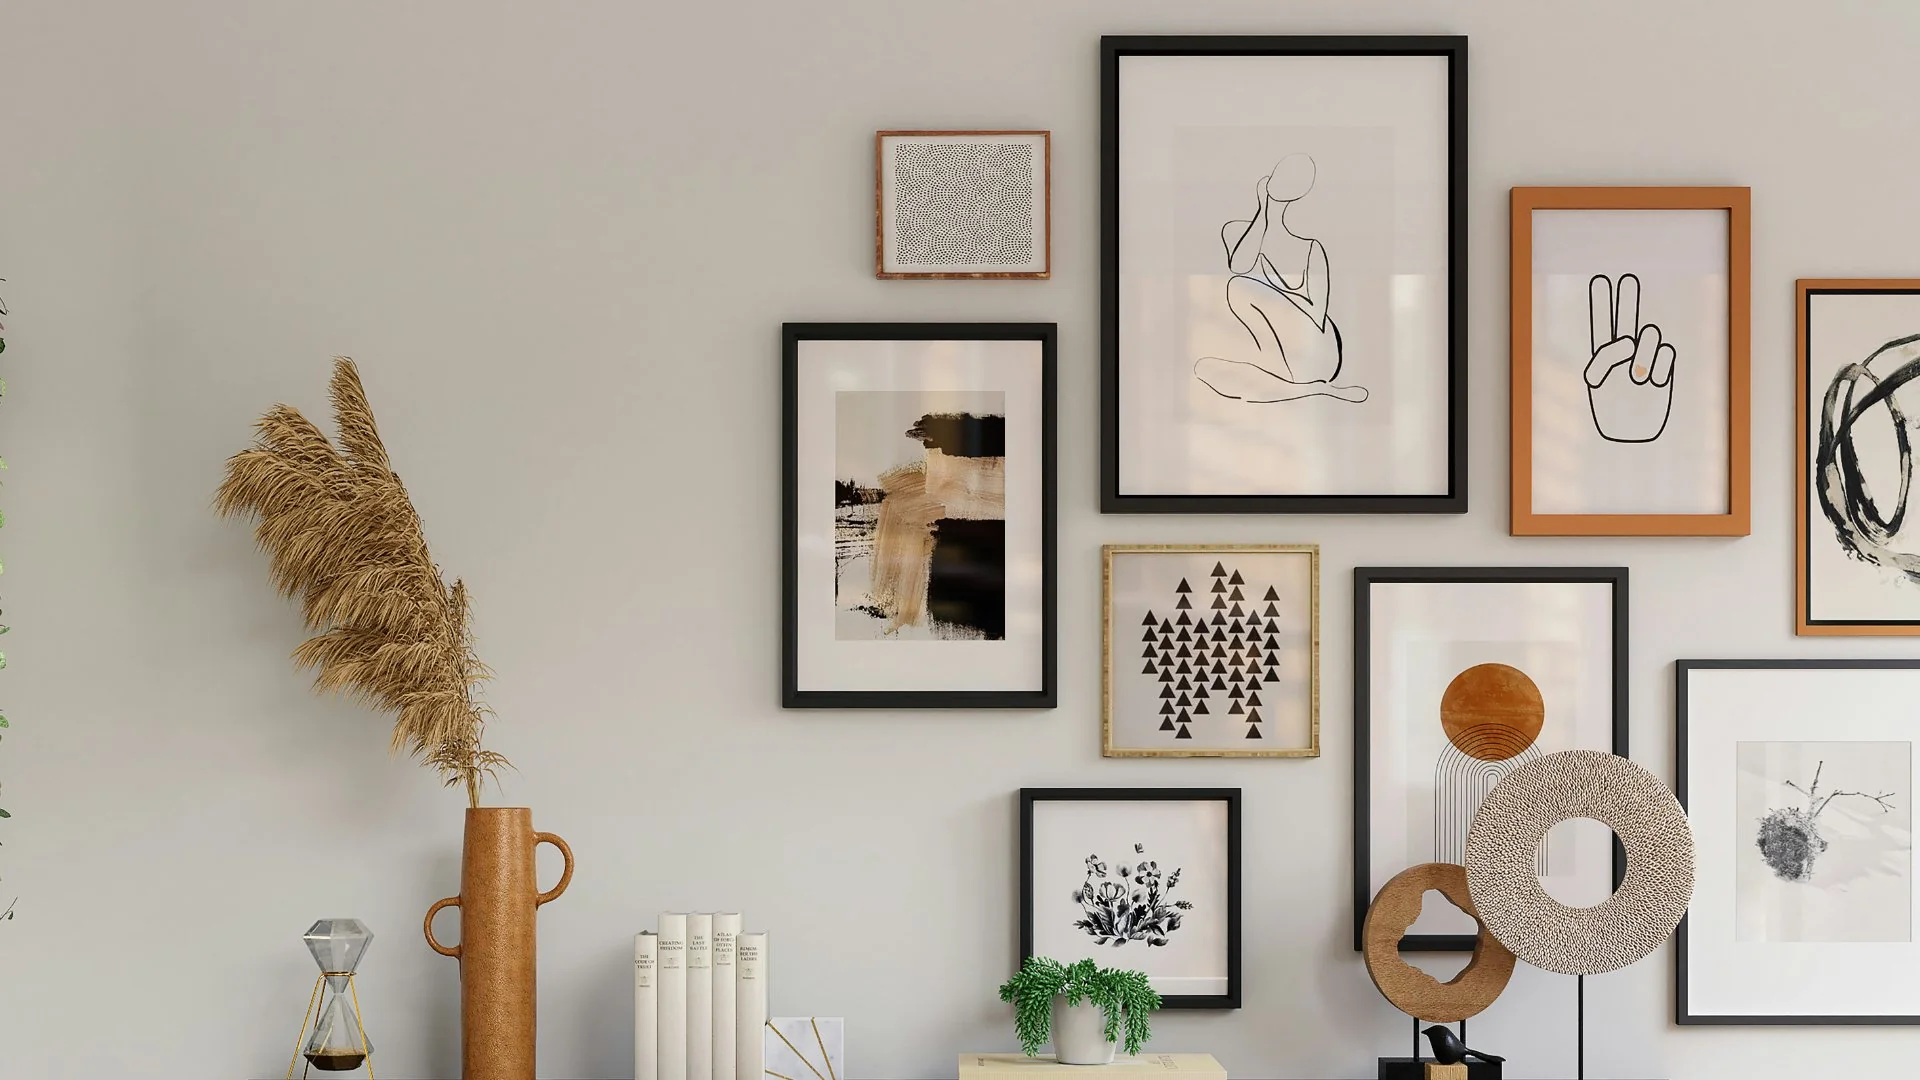
The Salon Style Approach
For eclectic gallery walls mixing various sizes and styles, start with your largest piece as an anchor, then build around it while maintaining minimum spacing requirements. Use paper templates extensively for this style—it requires more planning but creates stunning results.
Common Spacing Mistakes That Ruin Gallery Walls
The Claustrophobic Trap
Hanging pieces too close together creates visual tension and makes individual artworks compete for attention. Maintain adequate breathing room—your art needs space to be appreciated individually while contributing to the overall composition.
The Scattered Look
Excessive spacing creates the opposite problem—pieces appear disconnected and random rather than intentionally grouped. Find the sweet spot where pieces relate to each other while maintaining distinct identity.
Ignoring Scale Relationships
Small pieces on large walls need tighter groupings to create impact, while oversized pieces require generous spacing to avoid overwhelming the space. Consider your room’s proportions when planning spacing.
Troubleshooting: Fixing Uneven Displays
Quick Adjustments Without Rehinging
If one piece appears slightly off after hanging, adjust the picture wire tension rather than creating new holes. Loosening wire on one side raises that edge, while tightening pulls it down—perfect for minor corrections.
The Professional Re-Do
Sometimes starting over is better than fighting with an off-kilter arrangement. Remove all pieces, reassess your measurements, and begin again. Professional installers know that perfect results sometimes require patience and second attempts.
Conclusion
Mastering the art of hanging multiple pieces evenly transforms any space from amateur to professionally designed. By following these systematic approaches—starting from center, maintaining consistent spacing, using proper tools, and taking time for precise measurements—you’ll create gallery walls that rival expensive interior design installations.
Remember that perfect gallery walls don’t happen by accident. They result from careful planning, precise execution, and attention to detail. Whether you’re creating a family photo display, showcasing art collections, or designing statement walls, these techniques ensure professional results every time.
Take your time, measure twice, and hang once. Your walls—and your guests—will thank you for the extra effort. With these proven methods in your toolkit, you’re ready to create stunning, evenly spaced displays that enhance your home’s beauty and reflect your personal style with confidence.