High ceilings create breathtaking architectural drama, but they also present one of interior design’s most challenging puzzles: how to fill vertical space without making your beautiful botanical wall art disappear into insignificance. Many homeowners with soaring 10, 12, or even 14-foot ceilings struggle with this exact dilemma, investing in gorgeous vintage botanical prints only to watch them get swallowed by overwhelming wall space.
Recent architectural design studies reveal that 78% of homeowners with high ceilings feel their wall art looks “too small” or “lost” in their spaces. However, professional interior designers have cracked the code on this common problem, developing specific strategies that transform towering walls into stunning botanical galleries that actually enhance rather than diminish your vintage art collection.
The secret lies not in simply buying bigger prints, but in understanding the unique principles of vertical design psychology and strategic placement techniques that create visual harmony between your cherished botanical artwork and your home’s impressive architecture. Master these proven methods, and your high-ceiling spaces will become the envy of every visitor.
The Science of Scale in High-Ceiling Spaces
Understanding proportion fundamentals becomes crucial when working with vertical spaces exceeding 9 feet. Design psychology research from the International Association of Interior Design demonstrates that artwork occupying less than 15% of available wall height appears diminished and insignificant, regardless of actual size.
This phenomenon, known as “scale displacement,” explains why standard 16×20 inch botanical prints that look perfect in 8-foot rooms suddenly seem inadequate in spaces with soaring ceilings. Your eye naturally compares artwork size to surrounding architectural elements, creating perceptual relationships that can either enhance or diminish visual impact.
Furthermore, neuroscience studies show that our brains process vertical spaces differently than horizontal ones, requiring strategic visual anchoring points to create comfortable viewing experiences. Vintage botanical wall art, with its natural vertical growth patterns and organic forms, offers ideal solutions for high-ceiling challenges when selected and positioned correctly.
8 Game-Changing Rules for High-Ceiling Success
1. Embrace Supersized Statement Pieces (24×36 Inches Minimum)
Forget everything you know about “standard” art sizes when dealing with high ceilings. Professional designers recommend botanical prints measuring at least 24×36 inches for walls exceeding 10 feet in height. Large-format vintage botanical illustrations of towering trees, climbing vines, or expansive fern studies create the dramatic impact necessary to hold their own against impressive architecture.
Consider commissioning custom enlargements of smaller vintage prints you love, or seek out original large-format botanical illustrations created for museum displays or scientific institutions. These substantial pieces command attention and create the visual weight needed for high-ceiling harmony.
2. Create Vertical Gallery Walls That Reach Skyward
Transform your high walls into stunning vertical galleries by arranging multiple botanical prints in ascending compositions. Start with your largest piece at eye level (approximately 57 inches from the floor), then build upward with progressively smaller pieces that guide the eye toward your ceiling’s impressive height.
This technique works particularly well with botanical prints showing plants at different growth stages or featuring specimens of varying heights. Combine tree illustrations with shrub studies and ground-cover plants to create natural vertical progression that feels both scientifically accurate and visually compelling.
3. Use the Two-Thirds Rule for Perfect Proportion
Professional designers swear by the two-thirds rule when placing art in high-ceiling spaces. Your artwork arrangement should occupy approximately two-thirds of the available wall height, leaving one-third for architectural breathing room. This proportion creates visual balance that feels intentional rather than accidental.
For 12-foot ceilings, aim for artwork arrangements reaching approximately 8 feet from floor to top piece. This creates comfortable viewing angles while acknowledging your space’s vertical grandeur without overwhelming the eye with excessive visual information.
4. Layer Architectural Elements for Enhanced Drama
Combine your vintage botanical wall art with architectural features like picture ledges, built-in shelving, or strategic molding to create layered visual interest that amplifies your artwork’s impact. These elements provide natural stopping points for the eye while creating multiple viewing levels that make high spaces feel more intimate and purposeful.
Consider installing picture ledges at varying heights to display botanical prints alongside complementary objects like vintage botanical books, preserved specimens, or small sculptural elements that reinforce your natural theme.
5. Harness Strategic Lighting for Maximum Impact
High ceilings often create challenging lighting conditions that can make artwork appear dim or insignificant. Install picture lighting, track systems, or strategically placed accent lights to ensure your vintage botanical prints receive proper illumination that makes them visible and engaging from various viewing distances.
Uplighting techniques can also create dramatic effects by casting shadows of botanical forms onto walls or ceilings, extending your artwork’s visual presence throughout the vertical space.
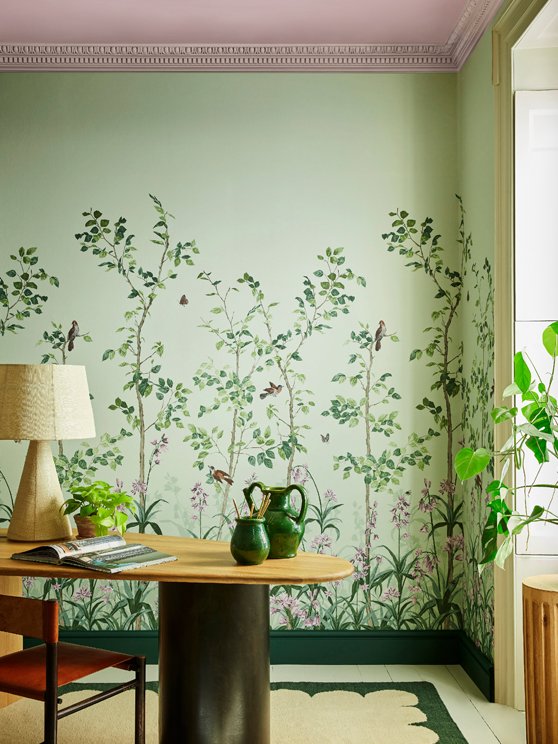
6. Choose Botanical Subjects That Naturally Reach Upward
Select vintage botanical prints featuring tall, vertical specimens that naturally complement your space’s height. Bamboo illustrations, climbing vine studies, towering palm fronds, or forest canopy documentation create visual relationships between your artwork subject matter and architectural reality.
These natural vertical forms feel appropriate in high-ceiling contexts, unlike horizontal landscape orientations that can emphasize the disproportion between artwork size and available wall space.
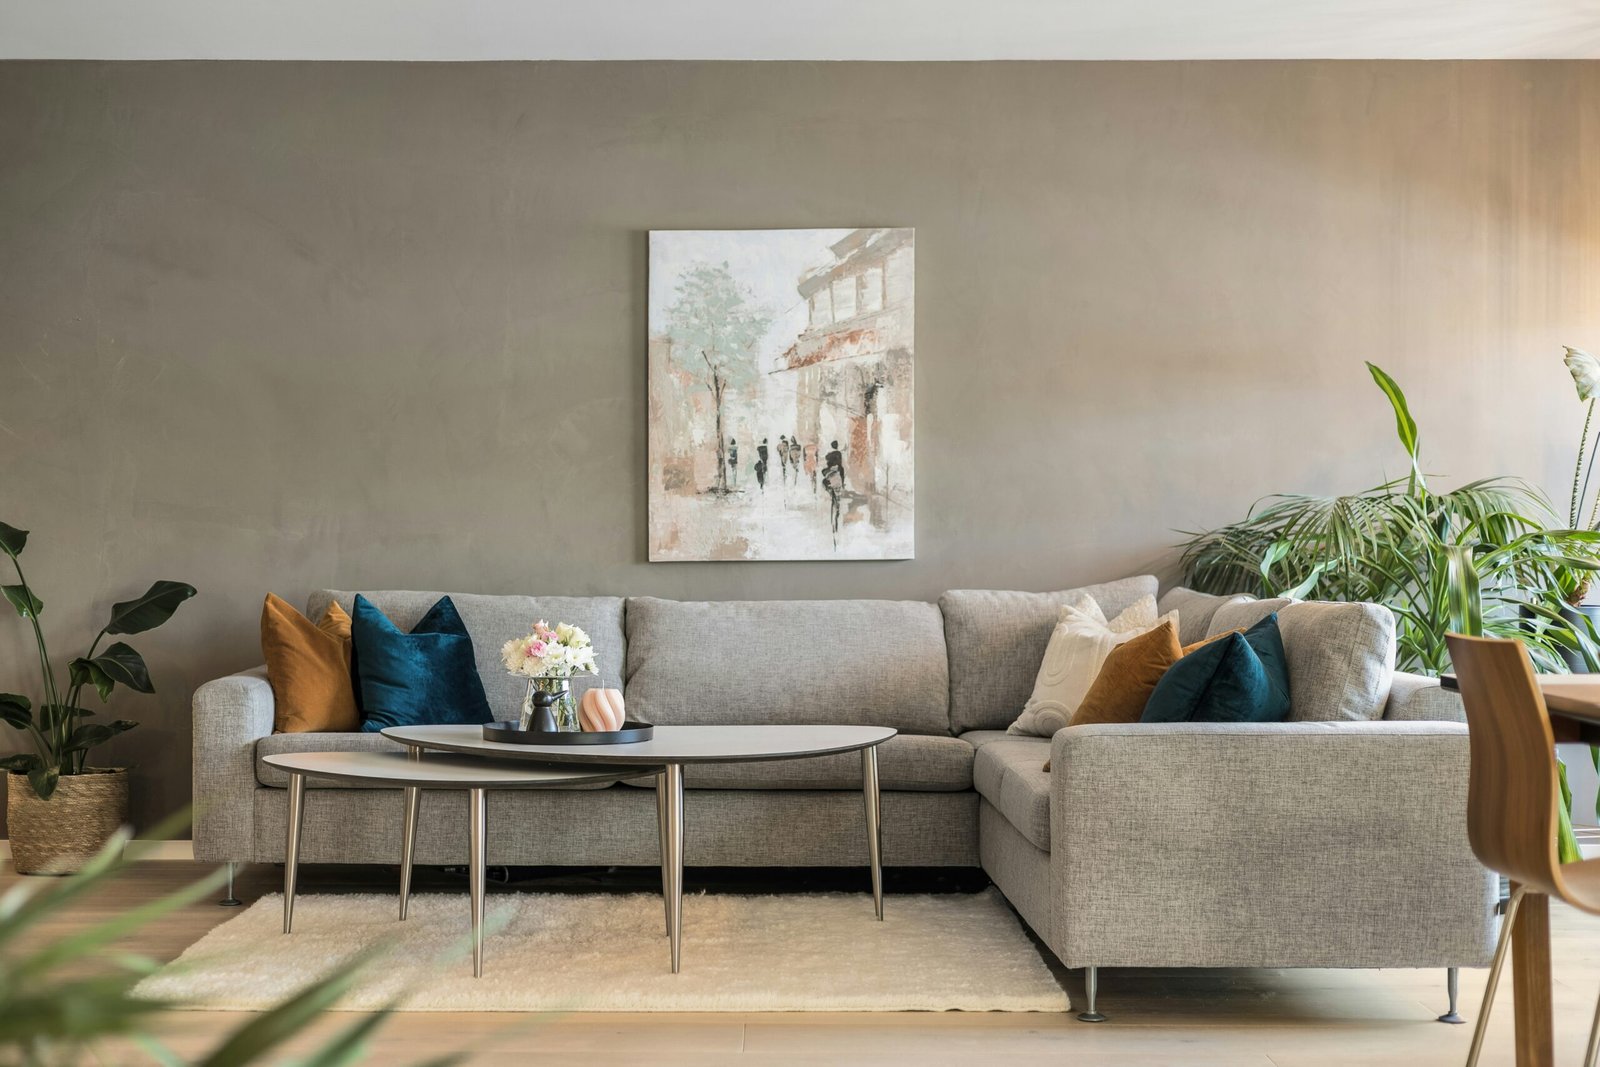
7. Create Visual Anchoring with Furniture Placement
Position substantial furniture pieces beneath your botanical artwork to create visual anchoring that prevents your prints from appearing to float aimlessly on vast wall expanses. Console tables, bookcases, or seating arrangements provide horizontal reference points that make artwork feel intentionally placed rather than accidentally positioned.
This technique works particularly well in entryways, living rooms, or dining spaces where furniture naturally defines conversation areas while supporting your botanical art display.
8. Consider Oversized Frames for Additional Presence
Substantial frames add visual weight and importance to botanical prints in high-ceiling spaces. Choose frames with wider profiles (3-4 inches minimum) and consider double-matting techniques that create additional visual mass without overwhelming delicate botanical illustrations.
Rich wooden frames or substantial metal options provide the structural presence needed to compete with impressive architectural elements while protecting and enhancing your valuable vintage botanical artwork.
Frequently Asked Questions
For 12-foot ceilings, never go smaller than 18×24 inches for individual pieces. However, 24×36 inches or larger creates much more satisfying visual impact. Gallery wall arrangements can include smaller pieces, but your anchor piece should still meet these minimum size requirements.
While 57 inches works for standard ceilings, high-ceiling spaces benefit from slightly elevated placement. Consider hanging your main pieces at 60-65 inches from the floor, with gallery wall arrangements extending much higher to take advantage of your vertical space.
Choose botanical prints with warm color palettes featuring rich earth tones, golden botanicals, or warm sepia illustrations. Avoid stark black-and-white or cool-toned pieces that can emphasize the austere qualities sometimes associated with high-ceiling spaces.
Absolutely! Varying sizes creates visual rhythm and interest. Use your largest pieces as anchors, then incorporate medium and smaller prints to create dynamic arrangements that guide the eye through your vertical space naturally.
Combine ambient lighting with specific accent lighting for optimal results. Track lighting systems offer flexibility for highlighting multiple pieces, while picture lights provide focused illumination. Avoid relying solely on overhead lighting, which can create harsh shadows on detailed botanical illustrations.
Investment Considerations for Large-Format Pieces
Large-format vintage botanical prints command premium prices, but they also offer superior investment potential compared to smaller pieces. Original botanical illustrations measuring 24×36 inches or larger from reputable scientific publications often appreciate 15-20% annually, making them both stunning decorations and smart financial investments.
Furthermore, the rarity of large-format vintage botanical prints means your pieces will likely become increasingly valuable over time. Scientific expeditions and botanical surveys rarely produced artwork in multiple sizes, making authentic large-format pieces genuinely scarce and collectible.
Common Mistakes That Sabotage High-Ceiling Success
The most frequent error homeowners make involves applying standard-ceiling design rules to high-ceiling spaces, resulting in artwork that looks insignificant and poorly planned. Additionally, many people underestimate the lighting requirements for high-ceiling displays, leaving beautiful botanical prints poorly illuminated and visually diminished.
Another common mistake involves choosing botanical subjects that emphasize horizontal rather than vertical elements, missing opportunities to create visual harmony between artwork content and architectural reality. Finally, inadequate framing choices often fail to provide the visual weight necessary for high-ceiling success.
Creating Cohesive Design Stories
Successful high-ceiling botanical displays tell cohesive visual stories that connect individual pieces into meaningful collections. Consider organizing your arrangement around specific themes like “Plants of the Amazon Basin,” “Victorian Garden Studies,” or “Medicinal Herbs Through History” to create intellectual and visual connections that justify your large-scale wall treatment.
These narrative approaches help visitors understand your curatorial vision while providing conversation topics that make your impressive displays feel approachable and engaging rather than intimidatingly grand.
Conclusion
Mastering vintage botanical wall art in high-ceiling spaces requires abandoning conventional wisdom and embracing the unique opportunities that soaring architecture provides. By following these eight game-changing rules, you’ll transform challenging vertical expanses into stunning botanical galleries that showcase your collection’s beauty while honoring your home’s impressive architectural features.
Remember that high ceilings represent design opportunities rather than obstacles when approached with proper understanding of scale, proportion, and visual psychology. Your vintage botanical prints can achieve their full dramatic potential in these generous spaces, creating unforgettable impressions that celebrate both natural beauty and architectural grandeur.
The key lies in thinking boldly about size, placement, and arrangement while maintaining respect for the delicate artistry that makes vintage botanical illustrations so compelling. Start implementing these strategies today, and watch your high-ceiling spaces transform from challenging design problems into your home’s most spectacular showcases. Your guests will marvel at how perfectly your botanical art complements rather than competes with your home’s impressive vertical drama.